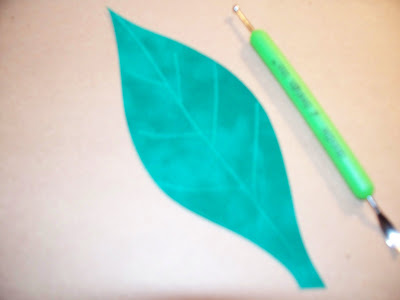


 If you choose to add Stickles, along the vein lines, now is a good time. Just let dry thoroughly before assembling flower.


- Below is the poinsettia that I made using this flower method. The information below is from a website on the Imaginisce blog.
Flower Materials needed:
- Card Stock
- Craft Knife
- Craft Adhesive
- Clothes Pins
Instructions:
1: [Pic I] Cut five squares from your card stock measuring 100 mm x100 mm. NOTE: Each 100 mm x 100 mm square makes one of the five petals needed to complete a flower.

2: [Pic II] Place one sheet of paper with the main pattern you want on the outside of the flower facing downwards. Fold the bottom corner up to the top to make a triangle.

3: [Pic III] Bring the side points up to the top point so that it makes a diamond.

4: [Pic IV] Fold the top layers back so the the edges run vertical with the centre, now line up with the corner sides of the square underneath. If you have folded it correctly you should have 2 horizontal edges, as shown.

5: [Pic V] Open up each of the newly formed triangles and fold down onto themselves so that the old corner fold line is now in the centre of a kite shaped top layer.

6: [Pic VI] Fold the points of the kites inwards so that the corners align with the square underneath.

7: [Piv VII] Fold the kites in half again, over existing creases. Once folded, glue the 2 outside faces together and pin together with a clothes peg until the glue is dry.

8: [Pic VIII] Your finished petal should look like image shown. Repeat steps for all 5 sheets of paper and glue each petal together to form your flower.

NOTE: Repeat origami flower as many times as needed to assemble your flower.
A Proud Member of The Lime Light. Click on over to see what we are doing.


No comments:
Post a Comment